
How to Choose the Right Welding Machine for Your Needs?

Choosing a welding machine starts with the work, not the biggest number on the product label. Will you repair a steel gate, build a thin-sheet project, or weld aluminum? Each task can point toward a different process, such as stick, MIG, or TIG. A Machine Welding Machine is not one universal tool; the right choice depends on material, thickness, power supply, and your experience.

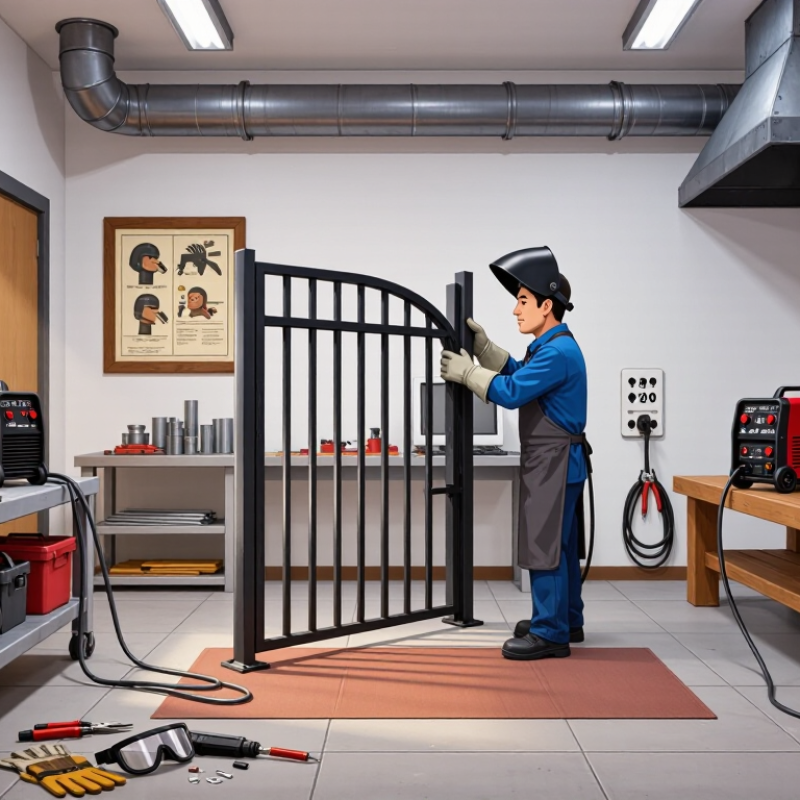
Picture a small workshop with a 120-volt outlet and limited bench space. A portable machine may suit occasional repairs, while heavier, frequent work can call for higher output and a suitable duty cycle. Check the manufacturer’s specifications for supported processes, material ranges, input power, and recommended consumables. Also consider controls you can understand, replacement parts you can source, and appropriate protective equipment and ventilation. These details matter more than a flashy feature list.

There is no perfect pick. A machine that handles one project well may feel limiting on the next. Before buying, list your common jobs and the thickest material you expect to weld. Compare that list with the machine’s rated capabilities, then ask a qualified welding supplier or instructor about any unclear specifications. I may be missing a detail that matters in your workshop, so verify the power supply and setup before purchase. A careful match saves frustration—and helps you develop sound, consistent habits.
How to Choose the Right Welding Machine for Your Needs?

Identify Your Welding Projects and Skill Level

Start with the work you actually plan to do. Repairing a garden gate is different from building thin-sheet metal panels. Note the metals, their thickness, and where you will weld. A small indoor project may favor a different setup than repairs outdoors, where wind can affect gas-shielded welding. Also check the power available in your workspace. A machine’s maximum output matters less if your household circuit cannot support it.

Your skill level should shape the controls and process you choose. Beginners may find a machine with clear settings easier to learn on, while experienced welders might value finer adjustment for varied materials. Stick welding can suit outdoor repairs, but its slag cleanup and technique take practice. MIG welding can feel more approachable for many common projects, though it still requires steady feeding and suitable shielding. TIG work offers precise control, but coordination takes time. It is easy to underestimate the learning curve. Start with scrap metal of similar thickness, and inspect each weld for gaps or uneven penetration before working on a finished piece.

Tips: Write down your three most likely projects before shopping. Match the machine’s process, output range, and power needs to those jobs. If you are unsure, ask an experienced welding instructor to review your plan.

How to Choose the Right Welding Machine for Your Needs?

Identify your projects and skill level. Compare how well each welding process suits common jobs.

How to read this chart: Ratings are a qualitative guide from 1 (lower fit) to 5 (higher fit), based on typical process characteristics—not measured performance. MIG is often a beginner-friendly choice for indoor repairs and sheet metal; self-shielded flux-cored welding and stick are useful outdoors; TIG offers precise control but usually takes more practice. The right machine also depends on material, thickness, power supply, and budget.

Compare Welding Processes and Their Best Uses

MIG welding is a practical choice for clean steel, sheet metal, and repetitive shop work. A steady wire feed helps beginners maintain a consistent bead, though wind can disrupt shielding gas outdoors. Stick welding is less fussy about surface rust and works well for repairs outside, but it produces more spatter and needs frequent electrode changes. Small detail matters: a windy driveway may favor stick, while a clean workbench suits MIG.

TIG offers precise control on thin stainless steel and aluminum, especially where neat appearance matters. It is slower and takes more coordination.

Flux-cored welding can suit thicker sections and outdoor work, but smoke, slag, and cleanup are part of the trade-off. There is no perfect process.

I would compare material thickness, position, available power, ventilation, and how often the machine will be used before buying.

The U.S. Bureau of Labor Statistics’ Occupational Outlook Handbook projects about 45,800 welding-related openings annually from 2023 to 2033, despite modest employment growth. That figure describes the wider occupation, not demand for any one process.

For a first machine, try a supervised practice bead on scrap matching your actual material; one attractive bead can still hide poor penetration.

Match Machine Output to Materials and Thickness

Match the machine’s usable amperage to the thickest material you expect to weld, not just its advertised maximum. A 1/8-inch mild-steel joint may suit a process setup around 90–130 amps, but joint design, wire size, and travel speed change the requirement. Treat that range as a starting point, not a setting to copy blindly. The American Welding Society’s Welding Handbook explains how current, voltage, and travel speed affect heat input and weld quality.

Material matters, too. ASM Handbook data put aluminum’s thermal conductivity near 200 W/m·K, compared with roughly 50 W/m·K for carbon steel. Aluminum carries heat away quickly, so it may need more output than steel of similar thickness. Thin sheet presents the opposite challenge: excessive heat can burn through or warp the edge. A machine with stable low-amperage control can help. Check its duty cycle as well; high output may be available only for short periods.

Tips: Test on a matching scrap piece. Watch the puddle, listen for a steady arc, and inspect the back of the joint. If the metal burns through, reduce heat or increase travel speed. Rules of thumb help, but they can mislead. Recheck settings when the material, joint, or position changes.

How to Choose the Right Welding Machine for Your Needs? - Match Machine Output to Materials and Thickness

Material / Job Suitable Process Approx. Material Thickness Typical Output Range Machine and Setup Considerations
Mild steel, general repairs and outdoor work Stick (SMAW) About 1.5 mm to 12 mm or more; thicker sections commonly require multiple passes Approximately 70–200 A for common electrode sizes and jobs A versatile choice for field work and less-than-perfect surfaces. Check that the machine supports the electrode type and diameter you plan to use.
Mild steel, sheet metal and workshop fabrication MIG with solid wire and shielding gas (GMAW) About 0.8–10 mm; thinner material needs careful settings and technique Approximately 30–250 A, depending on wire size and machine capacity A 120 V machine is generally suited to lighter work; thicker material and higher duty cycles typically call for a 230/240 V supply.
Mild steel, outdoor repairs or work where shielding gas is inconvenient Flux-cored wire (FCAW) About 1–12 mm or more, depending on wire, joint design and number of passes Approximately 40–250 A Self-shielded wire can be practical outdoors. Confirm the machine’s wire-feed capability and that its polarity suits the selected wire.
Stainless steel, thin sections or precision work TIG (GTAW), usually DC for stainless steel About 0.5–6 mm for many common jobs Approximately 5–200 A Offers precise heat control and a clean weld when properly set up. A suitable shielding gas and clean, dedicated stainless-steel tools are important.
Aluminum, thin parts or clean, controlled welds AC TIG (GTAW) About 1–10 mm, depending on joint and operator technique Approximately 10–250 A Choose a machine with AC output and adequate amperage for the work. Clean the aluminum carefully; thicker sections may need preheating or multiple passes.
Aluminum, faster production or longer welds MIG (GMAW) with a spool gun or push-pull system About 1.5–10 mm for many typical applications Approximately 30–250 A A spool gun or push-pull feeder helps feed soft aluminum wire reliably. Verify feeder compatibility, shielding-gas requirements and available output.
Cast-iron repair Stick (SMAW) with a suitable nickel-based electrode Varies widely; repairs can involve sections from a few millimeters to thick castings Often approximately 40–180 A, based on electrode diameter and casting Cast iron is crack-sensitive. Follow the electrode manufacturer’s procedure for preheat, short weld segments and controlled cooling.

Thickness and amperage figures are general selection guides, not guaranteed machine limits. Actual requirements depend on joint design, material grade, electrode or wire, welding position, fit-up and operator technique. Check the machine’s duty cycle and input-power requirements before choosing it.

Evaluate Power Supply, Portability, and Controls

Match the machine to the power available at your worksite, not an ideal workshop. Check the nameplate for input voltage, required amperage, and breaker size; a machine that trips the circuit is not practical, even if its output looks impressive. For mobile jobs, compare weight and handle balance, then picture carrying it up a stairway with leads in hand. Long extension cords can cause voltage drop, so follow the manufacturer’s cable guidance. Small detail, big nuisance.

Controls matter when work changes from thin sheet to heavier stock. Look for readable current settings, clear polarity instructions, and adjustments you can make with gloves on. Check the rated duty cycle, too. IEC 60974-1 uses a ten-minute reference period: a 60% rating means six minutes of welding, followed by four minutes of cooling, at the specified output. Ratings depend on current and test conditions, so compare like with like. The AWS Welding Handbook also treats process and material as key equipment-selection factors; a machine suited to one process may frustrate you on another. I would still test the controls before buying. Specs cannot tell you whether a dial feels awkward.

Check Safety Features, Accessories, and Total Cost

A welding machine can look affordable until safety equipment and routine supplies are added. Check for thermal overload protection, a secure ground connection, and clear operating instructions. These features help reduce avoidable risks, but they do not replace safe work habits. Use a properly rated helmet, gloves, and flame-resistant clothing. Keep the work area clear of flammable materials. Ventilation matters.

Check exactly what comes in the box. A torch, work clamp, cables, regulator, or basic toolkit may be included—or sold separately. Confirm that connectors and accessories suit the process you plan to use. For example, a machine intended for gas-shielded welding may need a compatible regulator and gas cylinder. Small parts matter. It is easy to assume an accessory will fit, then discover it does not.

Compare total ownership costs, not just purchase prices. Include wire or electrodes, shielding gas, contact tips, nozzles, replacement parts, and likely maintenance. Check the machine’s duty cycle against the length of your typical jobs; frequent pauses can slow work. Also confirm that your available power supply matches the machine’s requirements. A cheaper unit may cost more over time, though predicting repairs is never exact. Read the manual and warranty terms before deciding.

Go to Top