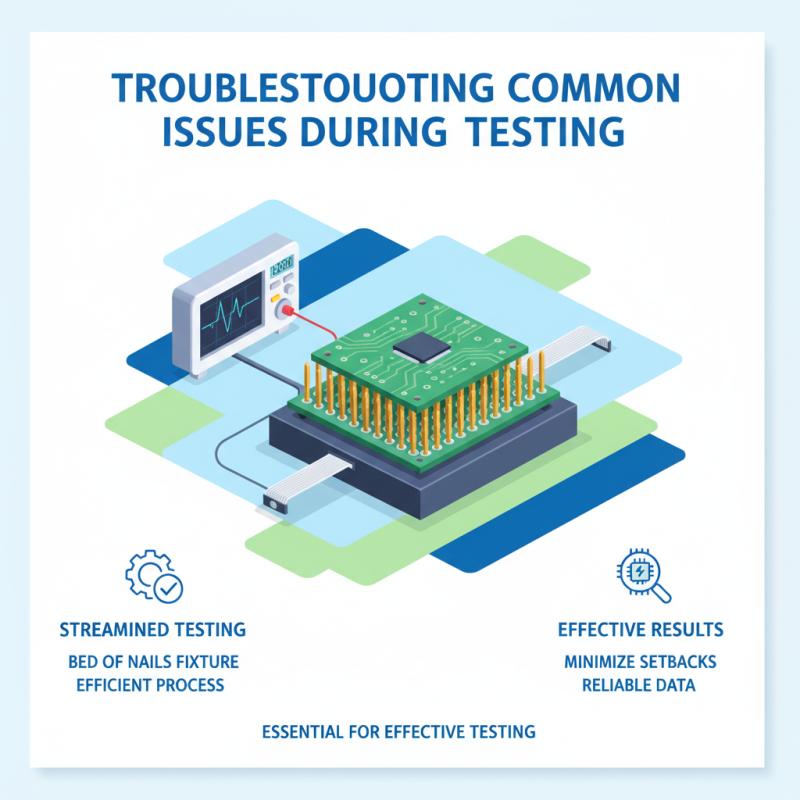
How to Use a Bed of Nails Test Fixture for Effective Testing?
The bed of nails test fixture is a crucial tool in electronics testing. It provides a reliable method for connecting multiple test points simultaneously. According to a 2021 report by the IPC, the demand for efficient testing solutions has increased by 45% in the past five years. This growth reflects the need for high-quality electronic products in competitive markets.
Using a bed of nails test fixture can drastically reduce testing times. With the ability to test hundreds of connections at once, it minimizes labor costs and enhances productivity. However, not all fixtures are created equal. Poorly designed fixtures can lead to inaccurate tests, contributing to increased product failures. A study by SEMI showed that up to 30% of production defects stem from inadequate testing processes.
Emphasizing the importance of quality in bed of nails test fixture design is critical. Test engineers must ensure proper alignment and contact pressure. Any oversight could result in misleading results that affect overall product quality. Reflecting on these challenges helps organizations refine their testing strategies.
Understanding the Concept of Bed of Nails Test Fixture
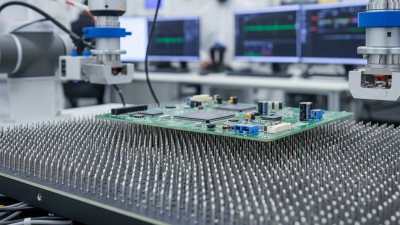
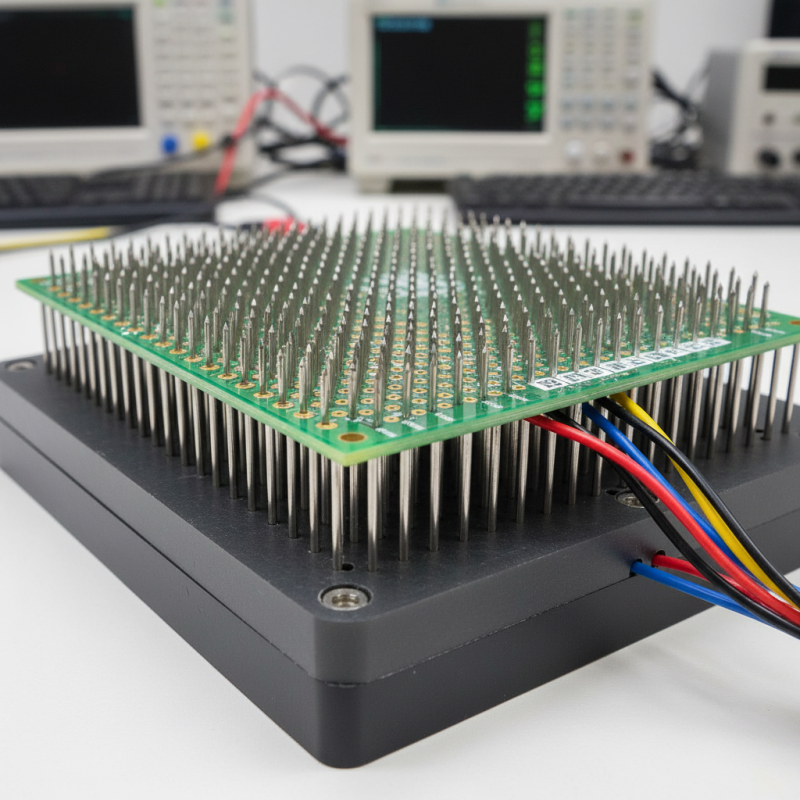
The Bed of Nails Test Fixture is a vital tool in electronic testing. It consists of numerous spring-loaded pins arranged to connect with specific points on a device under test (DUT). This setup enables efficient testing of multiple points simultaneously. According to a report from the Electronics Testing Association, using test fixtures can improve test coverage by up to 30%.
However, the design process requires careful consideration. Engineers often face challenges in pin placement, which can lead to inconsistent test results. The arrangement should minimize signal integrity issues while ensuring accessibility. A poorly designed fixture may introduce noise or attenuation, skewing results. The success of a test largely hinges on this initial design phase.
Moreover, maintaining the Bed of Nails fixture is essential. Over time, wear and tear can occur, affecting pin performance. Statistical analysis shows that about 20% of test failures stem from fixture issues rather than the DUT itself. Regular inspection and replacement of worn pins are necessary to uphold testing accuracy. Balancing efficiency with meticulous upkeep can be a demanding task for engineering teams.
Key Components of a Bed of Nails Test Fixture
A bed of nails test fixture is essential for proper testing of electronic devices. The key components include a support structure, pogo pins, and a test interface. The support structure holds the DUT (Device Under Test) securely in place. It ensures that the pogo pins make good contact with the test pads on the DUT.
Pogo pins serve as the connection point between the test fixture and the DUT. They provide reliable electrical connections during testing. According to a recent market report, over 80% of testers cite pin consistency as critical for quality assurance. Pin wear and fatigue can lead to unreliable results. Regular inspection and maintenance of these components are necessary for accuracy in testing.
The test interface connects the bed of nails fixture to the testing equipment. It translates test commands into measurable data. Misalignments here can cause failures in the testing process. In fact, studies show that incorrect setup can lead to test inaccuracies in about 15% of cases. This emphasizes the importance of attention to detail when configuring the fixture. Testing effectiveness relies heavily on these components working harmoniously together.
Step-by-Step Guide to Setting Up for Testing
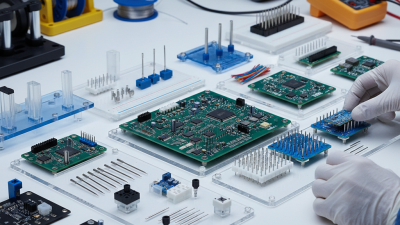
Setting up a bed of nails test fixture can seem daunting. However, you can simplify the process with a clear step-by-step approach. Begin by assembling the necessary components. Ensure you have your fixture, probes, and the device under test (DUT) ready. Organizing your workspace can help minimize confusion.
Next, align the bed of nails with your DUT. Take your time to position everything accurately. An off-center alignment can lead to failed tests. Ensure that all the probes make proper contact. Poor connections may result in unreliable data. Test the fixture with a simple continuity check before moving forward.
Tips: Always wear protective gear when handling electrical devices. Safety should be a priority throughout the process. Remember to document your setup. This can help you identify issues later. If tests fail, reflect on your setup. Ask yourself if everything was aligned properly. Identify who was in charge of each step and learn from any mistakes.
Testing Results Overview: Bed of Nails Test Fixture
Best Practices for Conducting Effective Tests
When utilizing a bed of nails test fixture, it's crucial to adhere to best practices for optimal results. Effective tests depend on precise alignment and consistent pressure. According to industry reports, misalignment can cause up to a 30% failure rate in testing. That's a significant risk for any testing program. Proper calibration of the fixture is vital. Always ensure it meets the specifications required by the devices being tested.
Documenting each test setup is often overlooked. This oversight can lead to repeated errors and wasted time. A study by a leading testing authority revealed that over 20% of faulty results stem from inadequate documentation practices. Maintain a detailed log of configurations and conditions for every test. If a failure occurs, refer back to this log for troubleshooting. Furthermore, review your testing parameters regularly as technology evolves. Changes in standards or methodologies can impact test effectiveness.
Finally, gather feedback from the testing team. Team members might see things that aren’t apparent during initial testing. Their insights can lead to process improvements. Ignoring this feedback can create larger issues in the long run. Always keep an open line of communication. Establishing a culture of reflection can enhance the quality of the tests conducted.